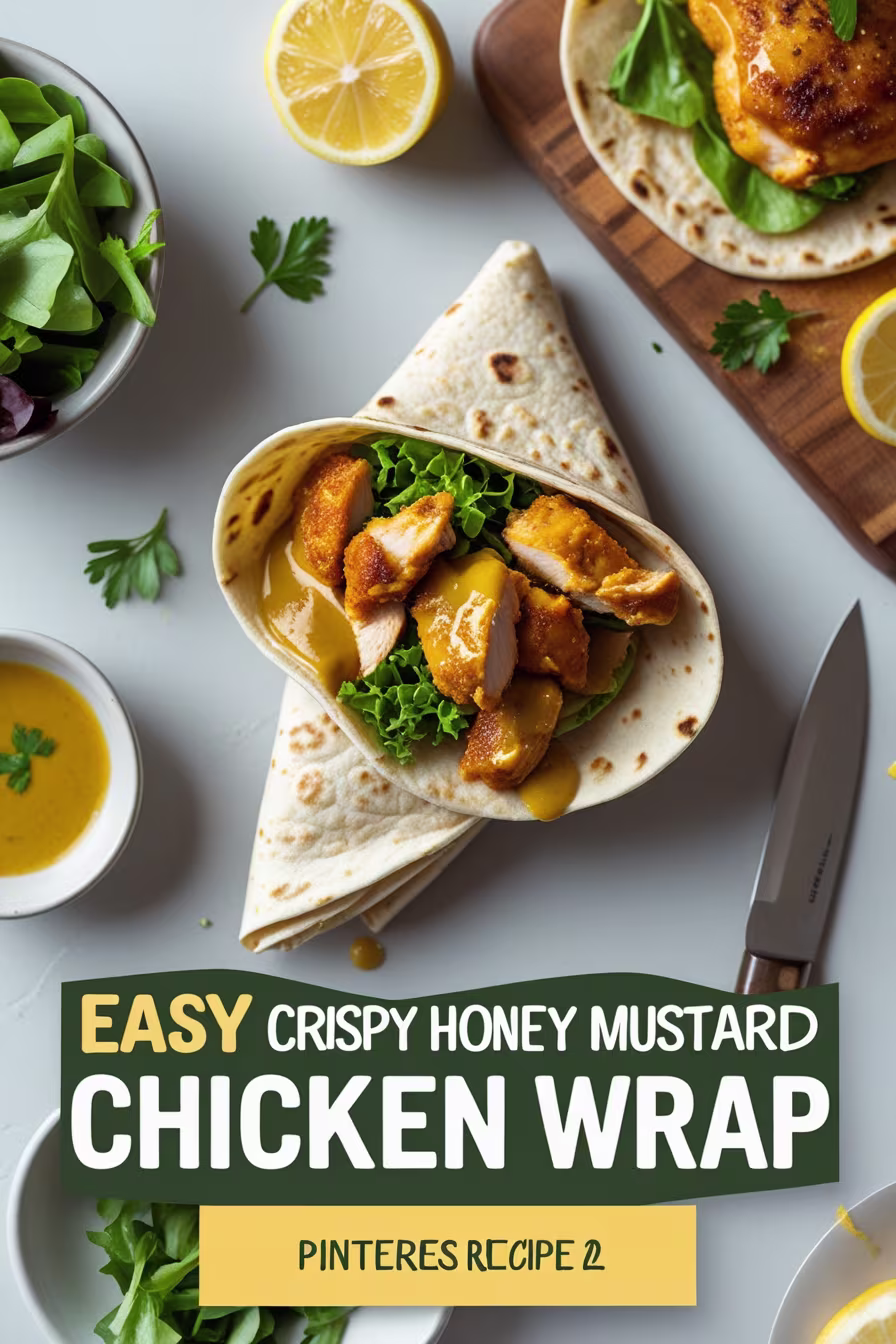
There’s something magical about biting into a perfectly crafted chicken wrap where every element works in harmony. The crispy chicken provides satisfying texture, the honey mustard sauce delivers that perfect sweet-tangy punch, and fresh vegetables add crunch and color. This Easy Crispy Honey Mustard Chicken Wrap recipe transforms simple ingredients into a restaurant-quality meal you can make at home in under 30 minutes.
Whether you’re packing lunch for work, feeding hungry teenagers after school, or looking for a quick dinner solution, this recipe delivers consistent results every time. The combination of golden-brown crispy chicken, creamy honey mustard sauce, and fresh vegetables wrapped in a soft tortilla creates a satisfying meal that appeals to all ages.
Why This Recipe Works
This recipe succeeds because it balances flavors, textures, and nutrition while remaining simple enough for everyday cooking. The chicken stays crispy thanks to a well-seasoned coating that creates the perfect crust. The homemade honey mustard sauce provides the ideal sweet-tangy contrast, while fresh vegetables add essential nutrients and satisfying crunch.
The beauty of this recipe lies in its flexibility. You can prepare the components ahead of time, customize the vegetables to your preference, and even adjust the honey mustard sauce to suit different taste preferences. The result is always a fresh, flavorful wrap that beats any fast-food alternative.
Essential Ingredients for Success
For the Crispy Chicken:
- 2 large boneless, skinless chicken breasts (about 1.5 pounds) – Look for evenly sized breasts for consistent cooking
- 1 cup all-purpose flour – Creates the base for our crispy coating
- 2 large eggs – Acts as the binding agent for our coating
- 1 cup panko breadcrumbs – Provides superior crunch compared to regular breadcrumbs
- 1 teaspoon garlic powder – Adds savory depth
- 1 teaspoon onion powder – Enhances the overall flavor profile
- 1 teaspoon paprika – Contributes color and mild smoky flavor
- 1 teaspoon salt – Essential for proper seasoning
- ½ teaspoon black pepper – Adds gentle heat
- ¼ teaspoon cayenne pepper (optional) – For those who enjoy a subtle kick
- Vegetable oil for frying – Choose oils with high smoke points like canola or vegetable oil
For the Honey Mustard Sauce:
- ⅓ cup mayonnaise – Forms the creamy base
- 3 tablespoons Dijon mustard – Provides tangy sharpness
- 2 tablespoons yellow mustard – Adds classic mustard flavor
- 3 tablespoons honey – Balances the tanginess with natural sweetness
- 1 tablespoon apple cider vinegar – Brightens the overall flavor
- ¼ teaspoon garlic powder – Enhances the savory notes
- Salt and pepper to taste – For final seasoning adjustments
For Assembly:
- 4 large flour tortillas (10-inch) – Soft flour tortillas work best for wrapping
- 2 cups mixed greens or lettuce – Choose crisp varieties like romaine or iceberg
- 1 large tomato, sliced – Adds juiciness and fresh flavor
- ½ red onion, thinly sliced – Provides sharp contrast and crunch
- 1 cucumber, sliced – Contributes refreshing crunch
- 1 cup shredded cheese (cheddar or Swiss work well) – Adds richness and helps bind ingredients
Step-by-Step Instructions
Preparing the Honey Mustard Sauce
Start by making the honey mustard sauce, as this allows the flavors to meld while you prepare the chicken. In a medium bowl, whisk together the mayonnaise, Dijon mustard, and yellow mustard until smooth. The combination of both mustards creates a more complex flavor than using just one type.
Add the honey gradually, whisking continuously to ensure it incorporates evenly. The honey not only sweetens the sauce but also adds body and helps create that signature glossy appearance. Stir in the apple cider vinegar, which brightens the entire sauce and prevents it from becoming too heavy.
Season with garlic powder, salt, and pepper to taste. Remember that you can always add more seasoning, but you can’t take it away, so start conservatively. The finished sauce should taste balanced – not too sweet, not too tangy, with a creamy consistency that will coat the chicken and vegetables nicely.
Cover the sauce and refrigerate while you prepare the chicken. This resting time allows the flavors to develop and creates a more cohesive taste profile.
Preparing the Crispy Chicken
Begin by setting up your breading station, which is crucial for achieving consistently crispy chicken. You’ll need three shallow dishes: one for flour, one for beaten eggs, and one for the seasoned panko breadcrumbs.
In the first dish, combine the flour with half a teaspoon each of salt and pepper. This seasoned flour creates the foundation layer that helps the egg wash adhere properly.
In the second dish, beat the eggs thoroughly until no white streaks remain. The eggs act as the glue that holds the breadcrumb coating to the chicken.
For the third dish, combine the panko breadcrumbs with garlic powder, onion powder, paprika, the remaining salt and pepper, and cayenne if using. Mix these seasonings thoroughly to ensure even distribution. Panko breadcrumbs are essential here because their larger, flakier texture creates a superior crunch compared to regular breadcrumbs.
Now prepare the chicken breasts. If your chicken breasts are particularly thick (more than ¾ inch), slice them horizontally to create more even pieces, or pound them gently to an even thickness. This ensures uniform cooking and prevents the outside from overcooking while the inside remains underdone.
Cut the prepared chicken into strips approximately 3-4 inches long and 1 inch wide. These strips will cook faster and more evenly than whole breasts, and they’re perfectly sized for wrapping.
The Breading Process
Working with one chicken strip at a time, dredge it first in the seasoned flour, shaking off any excess. The flour coating should be light but complete, covering all surfaces of the chicken.
Next, dip the floured chicken into the beaten eggs, allowing any excess to drip off. Make sure the entire surface is coated with egg wash, as this is what allows the breadcrumbs to adhere.
Finally, press the chicken into the seasoned panko breadcrumbs, turning to coat all sides. Press gently but firmly to ensure the breadcrumbs adhere well. The coating should look even and substantial without being overly thick.
Place the breaded chicken strips on a wire rack or plate, and avoid stacking them, which can cause the coating to become soggy or fall off.
Cooking the Chicken
Heat about ½ inch of vegetable oil in a large, heavy-bottomed skillet over medium-high heat. The oil is ready when a small piece of breadcrumb dropped in sizzles immediately and rises to the surface.
Carefully place the breaded chicken strips in the hot oil, being careful not to overcrowd the pan. Overcrowding lowers the oil temperature and results in soggy rather than crispy chicken. Cook in batches if necessary.
Fry the chicken strips for 3-4 minutes on the first side, until golden brown and crispy. Resist the urge to move them too early, as this can cause the coating to fall off. When the first side is properly golden, carefully flip each strip using tongs.
Cook for an additional 3-4 minutes on the second side, until golden brown and the internal temperature reaches 165°F (74°C). The chicken should be crispy and golden on all sides.
Remove the cooked chicken to a wire rack or paper towel-lined plate to drain excess oil. Season immediately with a light sprinkle of salt while the chicken is still hot, which helps the seasoning adhere and enhances the overall flavor.
Preparing the Vegetables
While the chicken rests, prepare your vegetables. Fresh, crisp vegetables are crucial for the best texture contrast in your wraps.
Wash and thoroughly dry your mixed greens or lettuce. Excess moisture will make your wraps soggy, so take time to ensure the greens are completely dry. A salad spinner works well for this, or you can pat them dry with paper towels.
Slice the tomato into ¼-inch thick rounds, removing any excess seeds and juice that might make the wrap soggy. If your tomatoes are particularly juicy, you can salt the slices lightly and let them drain on paper towels for 10 minutes before using.
Cut the red onion into thin slices. If you find raw onion too sharp, you can soak the slices in cold water for 10 minutes, then drain and pat dry. This mellows the flavor while maintaining the crunch.
Slice the cucumber into thin rounds or strips, depending on your preference. Remove excess seeds if the cucumber is particularly seedy, as these can add unwanted moisture to your wrap.
Assembly Instructions
Now comes the satisfying part – assembling your wraps. Start by warming your tortillas slightly, either in a dry skillet for 30 seconds per side or in the microwave for 15-20 seconds. Warm tortillas are more pliable and less likely to crack when folded.
Lay each tortilla flat on a clean work surface. Spread approximately 2 tablespoons of honey mustard sauce down the center of each tortilla, leaving about 2 inches clear on each end.
Layer the mixed greens over the sauce, followed by 3-4 pieces of crispy chicken, arranging them in a single layer for easy eating.
Add the tomato slices, red onion, and cucumber, distributing them evenly. Sprinkle with shredded cheese, which helps bind the ingredients together and adds richness.
The Perfect Wrap Technique
To wrap your chicken wrap properly, start by folding the top and bottom edges of the tortilla over the filling by about 2 inches. This creates a seal that prevents ingredients from falling out the ends.
Next, starting from one side, tightly roll the tortilla away from you, keeping the filling compact as you roll. The key is to maintain even pressure throughout the rolling process – tight enough to hold everything together, but not so tight that you tear the tortilla.
Once rolled, place the wrap seam-side down on your plate or cutting board. This helps the wrap maintain its shape. If you’re preparing these ahead of time, wrap each one individually in plastic wrap or aluminum foil.
For the cleanest eating experience, slice each wrap in half diagonally with a sharp knife, which also creates an attractive presentation.
Customization Options
This recipe serves as an excellent base for numerous variations. You can easily adapt it to accommodate different dietary preferences and taste preferences.
Spice Variations: Add hot sauce to the honey mustard sauce for extra heat, or incorporate different spices into the breading mixture. Try adding Italian seasoning, curry powder, or even parmesan cheese to the panko breadcrumbs.
Vegetable Alternatives: Swap out any vegetables based on preference or availability. Avocado adds creaminess, bell peppers provide extra crunch and color, and sprouts add a fresh, slightly peppery note.
Sauce Variations: While honey mustard is classic, you can substitute ranch dressing, caesar dressing, or even a spicy mayo for different flavor profiles.
Tortilla Options: Experiment with different types of wraps – whole wheat tortillas add fiber and nutty flavor, spinach tortillas provide extra nutrients and attractive color, and low-carb tortillas work for those watching their carbohydrate intake.
Make-Ahead Tips
These wraps work wonderfully for meal prep, though some components are better prepared fresh than others.
Chicken: The breaded chicken can be prepared and fried up to 2 days ahead. Store it in the refrigerator and reheat in a 350°F oven for 5-7 minutes to restore crispiness.
Sauce: The honey mustard sauce actually improves after a day in the refrigerator as the flavors meld. It keeps well for up to a week.
Vegetables: Prepare and store vegetables separately in airtight containers. This prevents cross-contamination of flavors and maintains optimal texture.
Assembly: For best results, assemble wraps no more than 2-3 hours before serving. Longer storage can result in soggy tortillas.
Storage and Serving Suggestions
Properly stored, these wraps maintain their quality for several hours, making them perfect for packed lunches or picnics. Wrap each one individually in parchment paper or aluminum foil, which helps maintain the shape and prevents the tortilla from becoming soggy.
If you must store assembled wraps overnight, place them in the refrigerator and consume within 24 hours. Note that the vegetables may release some moisture over time, slightly softening the tortilla.
For serving, these wraps pair beautifully with baked sweet potato chips, fresh fruit, or a simple side salad. The combination creates a complete, satisfying meal that’s both nutritious and delicious.
Nutritional Benefits
This recipe provides a well-balanced combination of protein, vegetables, and complex carbohydrates. The chicken supplies high-quality protein essential for muscle maintenance and growth, while the vegetables contribute vital vitamins, minerals, and fiber.
The honey mustard sauce, while indulgent, is used in moderation and adds beneficial fats when made with quality mayonnaise. You can reduce calories by using Greek yogurt in place of some mayonnaise, which also adds probiotics and extra protein.
By controlling the ingredients and preparation method, you ensure this wrap is substantially healthier than most restaurant or fast-food alternatives, with less sodium, fewer preservatives, and more fresh vegetables.
Troubleshooting Common Issues
Soggy Coating: This usually results from oil that’s not hot enough or overcrowding the pan. Ensure your oil reaches the proper temperature before adding chicken, and cook in batches if necessary.
Dry Chicken: Overcooking is the most common cause. Use a meat thermometer to ensure you reach exactly 165°F and no higher.
Wraps Falling Apart: This often happens when tortillas are too cold or brittle. Warm them slightly before assembly, and don’t overfill with ingredients.
Bland Flavor: Make sure to season each component adequately – the flour, the breadcrumb mixture, and the chicken itself should all be properly seasoned.
Conclusion
This Easy Crispy Honey Mustard Chicken Wrap recipe delivers restaurant-quality results in your home kitchen. The combination of perfectly seasoned crispy chicken, tangy-sweet honey mustard sauce, and fresh vegetables creates a satisfying meal that works for lunch, dinner, or any time you crave something delicious and wholesome.
The recipe’s flexibility allows you to customize it to your family’s preferences while the make-ahead components make it practical for busy schedules. With proper technique and quality ingredients, you’ll create wraps that are far superior to any store-bought alternative.
Take your time with each step, especially the breading and frying process, and you’ll be rewarded with consistently crispy, flavorful chicken that makes these wraps truly special. Once you master this recipe, it’s likely to become a regular part of your meal rotation – and your family will thank you for it.

